Skills | Supplies | Download assembly guide | Videos | Curriculum
 ReproSTART Pelvis by Medical College of Wisconsin, repro-start@mcw.edu
- Paracervical Block
- Cervical Dilation
- Manual Uterine Evacuation
- Dilation & Evacuation
- Post-abortal IUD
- Silicone Pad (paracervical space) | Assembly Guide (see video below for full instructions)
- Silicone mold kit
- Setting pan – approximately 5×7”, cured silicone can easily be cut to desired size
- Bun Form Cervix | Assembly Guide
- 2 pairs of tights – Size XL or XXL (the larger the better)
- Scissors
- Ruler
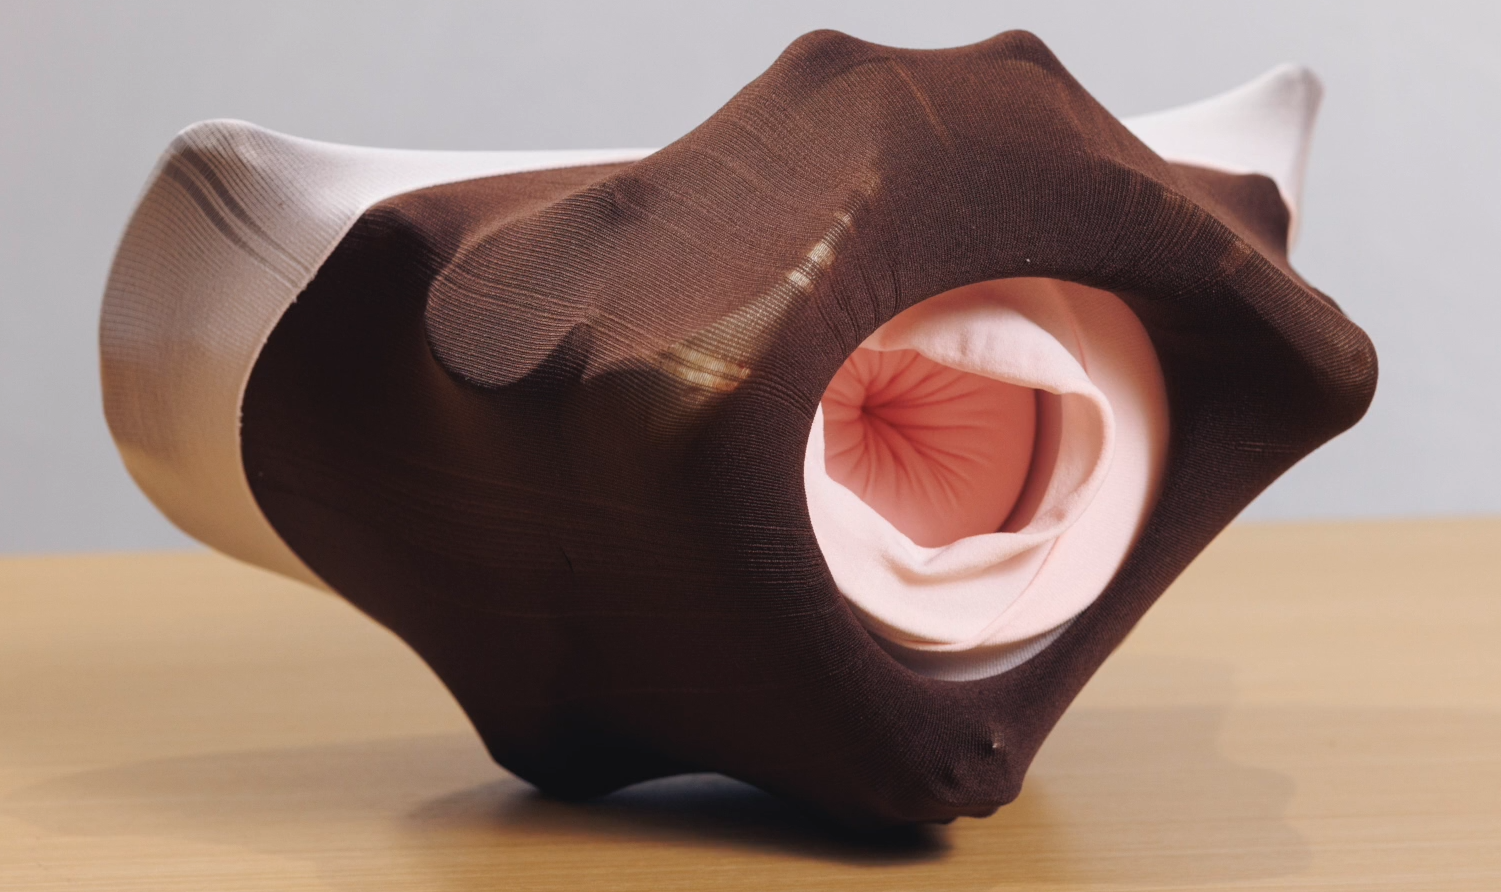
- Vagina Model | Assembly Guide
- 3” Diameter Stop Coupling PVC tube (approximately 4” long)
- 1 assembled Bun Form Cervix
- 1 rubber band
- 1 elastic hair tie
- Silicone piping
- 3” diameter assembled Silicone Pad
- 1 rectangular silicone strip (approximately 1×4”) leftover in Silicone Pad creation
- Gorilla glue (or other strong adhesive)
- Uterine Model | Assembly Guide
- First trimester
- 1 dragonfruit
- Knife
- Second trimester
- 1 papaya
- 4 toy nerf darts
- 1 hardboiled egg
- Knife
- 1 dilator
- First trimester
- Pelvic Model Assembly | Assembly Guide
- 1 skeletal pelvic model
- pair of skin color tights (XL or XXL)
- 1 assembled Vagina Model
- Includes assembled Silicone Pad, assembled Bun Form Cervix, and a PVC vaginal canal
- When assembling your pelvis, you will need to know if you are creating a “first trimester pelvis” or a “second trimester pelvis” to use the appropriate internal os
- Safety pins
- Duct tape
- Prepared Uterine Model
- First trimester = 1 dragon fruit per learner
- Second trimester = 1 papaya per learner
Download all assembly guides as one document.
Model Assembly video (12:29):

Module 1 Paracervical Block: Video | Guide
Module 2 Cervical Dilation: Video | Guide
Module 3 Manual Uterine Evacuation: Video | Guide
Module 4 Dilation & Evacuation: Video | Guide
Module 5 Post-abortal IUD: Video | Guide